Rolling a joint can be intimidating for some stoners, especially when you are put on the spot during a smoke session, and everyone is waiting for the next thing to smoke. For those moments you want to go into it with confidence.
Let’s get into a step by step process on how to roll joints, you can roll with filter tips or without, but ultimately think of rolling a joint like arts and crafts, mold this joint in a way that smokes for you!
Choosing the Right Joint Rolling Paper
In order to set yourself up for success, make sure you choose the best rolling papers. What works for you? Do you like thick papers like ones made of wood pulp? Or do you prefer a more thin material such as rice or hemp? You will only understand the paper you like by trying different types and practicing. You can pick up a good variety at any of our Illinois dispensary locations on our accessory shelves.
Grinding Your Bud Before Rolling
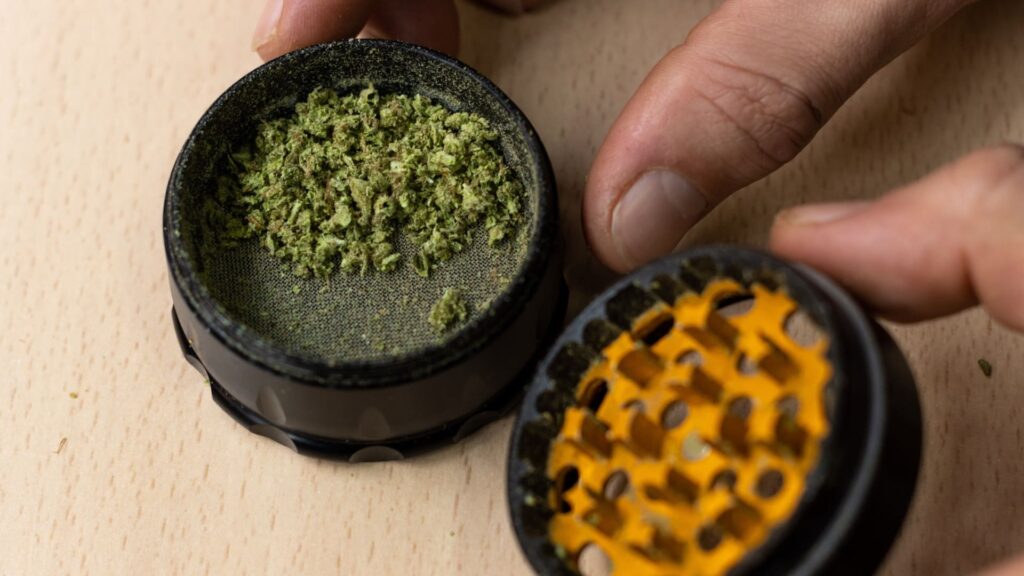
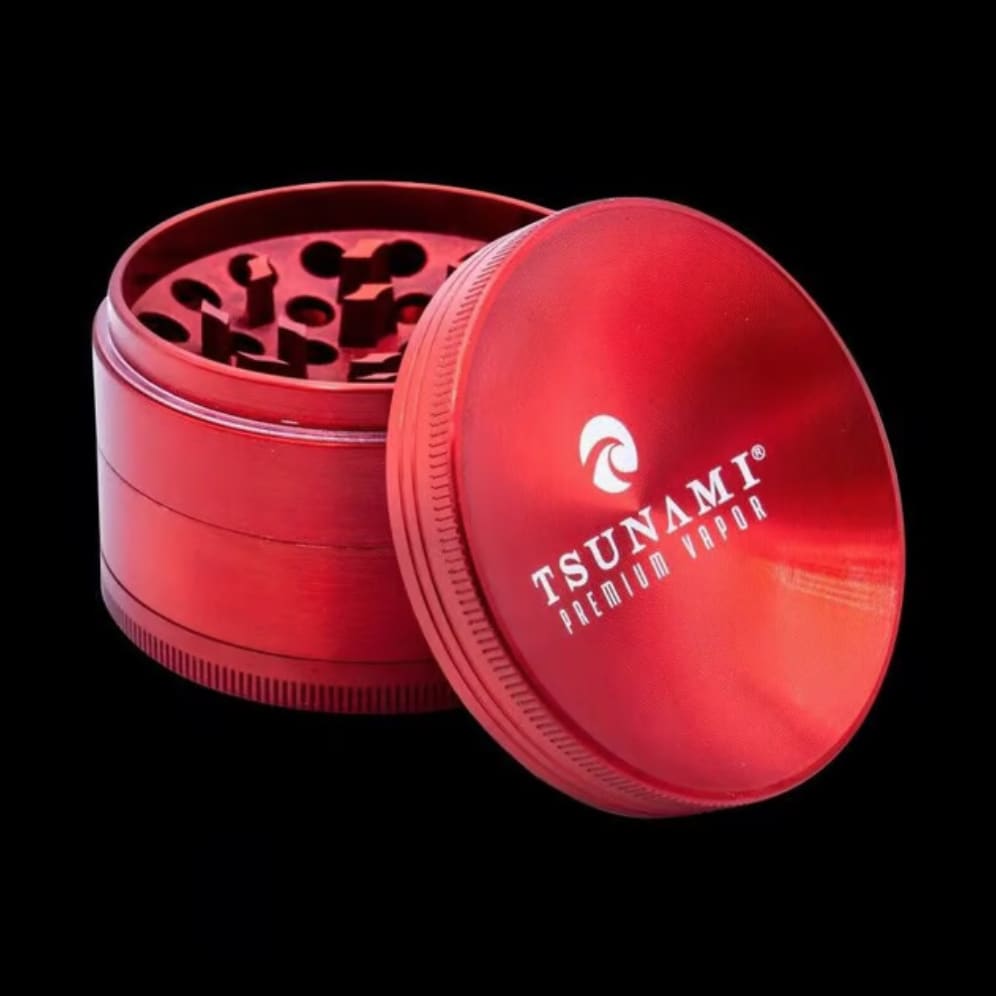
Some people have the patience to pick apart the bud with their fingertips, this method is great for a solo sesh to roll your own for a pleasant after work session. The OGs know the nickel in a jar method, where you place a nickel in a pill bottle or small jar and shake it. At Ivy Hall we have the three chamber Tsunami Grinders in a variety of sizes. Our guests love to grab it as a quick add-on to get a good consistency for their bud.
As I mentioned before some folks like to grind with their fingers, but this can take longer and it can be harder to get the bud nice and fine for an easy roll. In other words, when you finger grind, the pieces of bud can be inconsistent. So, we suggest you invest in a durable flower grinder!
Which Accessories Do I Need to Roll a Joint?
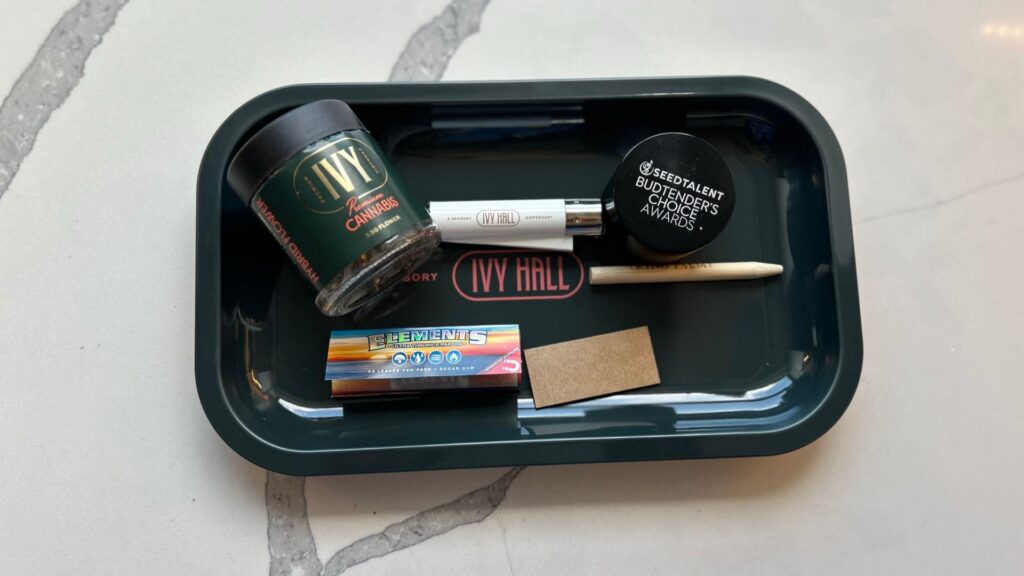
The right accessories will help you be successful in rolling a joint. Our top recommended joint rolling accessories include:
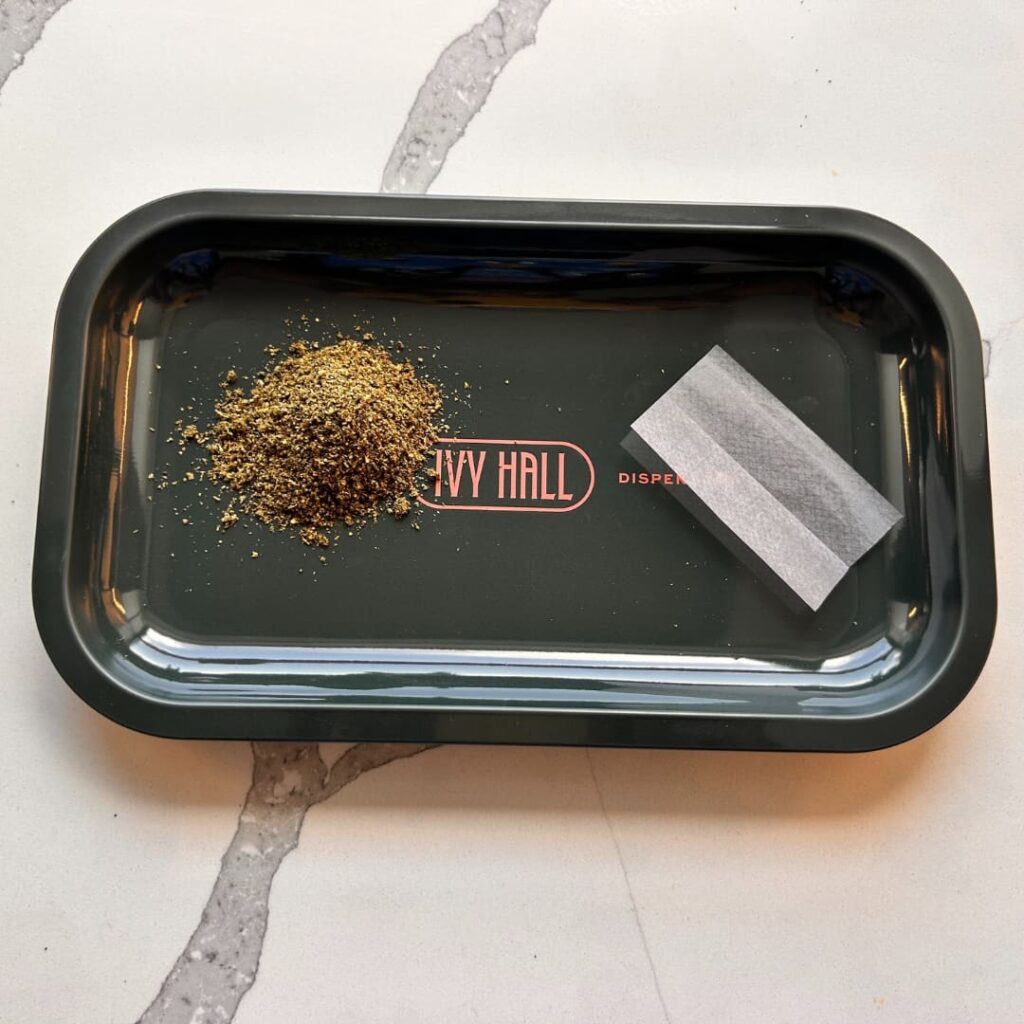
A Rolling Tray
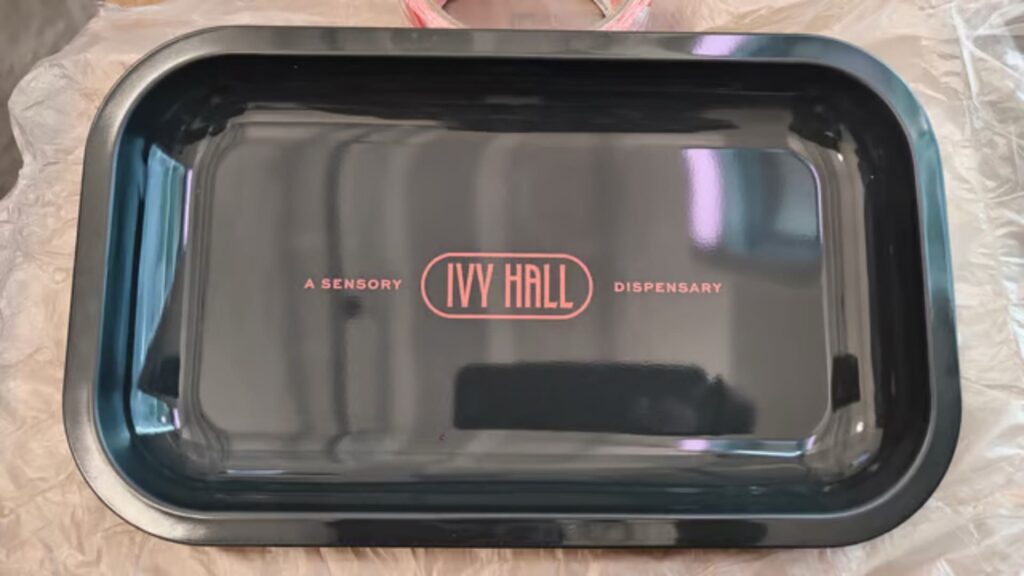
So you will not get weed all over yourself and whatever surface you are rolling on such as a table or bed. When it comes to rolling, it is easy for the “gut” or excess flower to fall out. Having a rolling try helps collect the extras for hopefully another joint or a bowl pack.
Rolling Papers
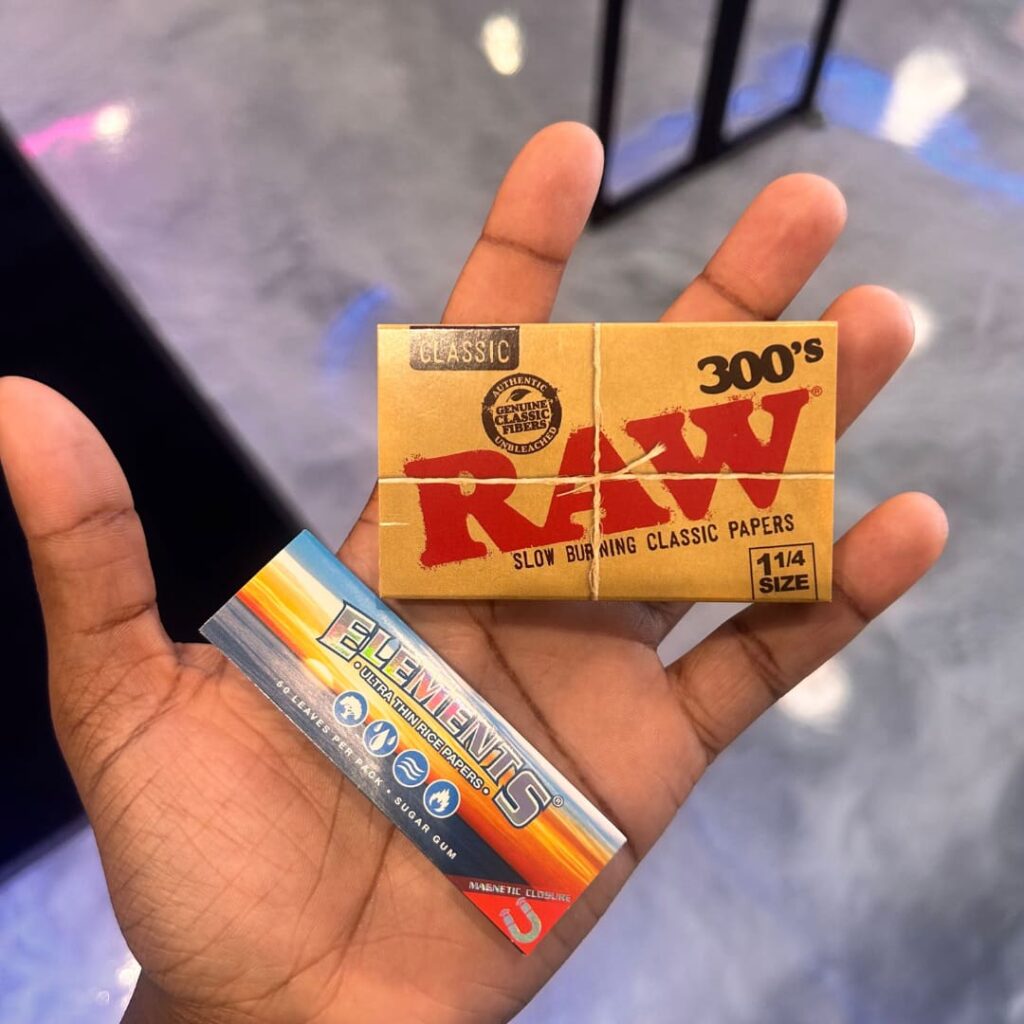
Rolling papers come in a variety of sizes and materials. It is important to choose one that feels the best to you. You want to take into account how easy it is for you to roll and how it burns. You can learn which papers you like by practicing your rolling methods and experimenting with different types of paper.
Weed Grinder
A grinder will save you a lot of time when it comes to rolling. Pack a few nugs in the top chamber and twist! Grinders help ensure your bud is at a consistent texture to make it easy to pack your bud into a joint and roll. The nice thing about having a grinder is that most of them have what is called a “Kief Catcher”, it is usually at the bottom of the grinder. A thin little chamber that houses the potent weed dust you can sprinkle in a joint or bowl to help beef up your buzz. A little kief infused joint is always a good time.
A Joint Poker Tool
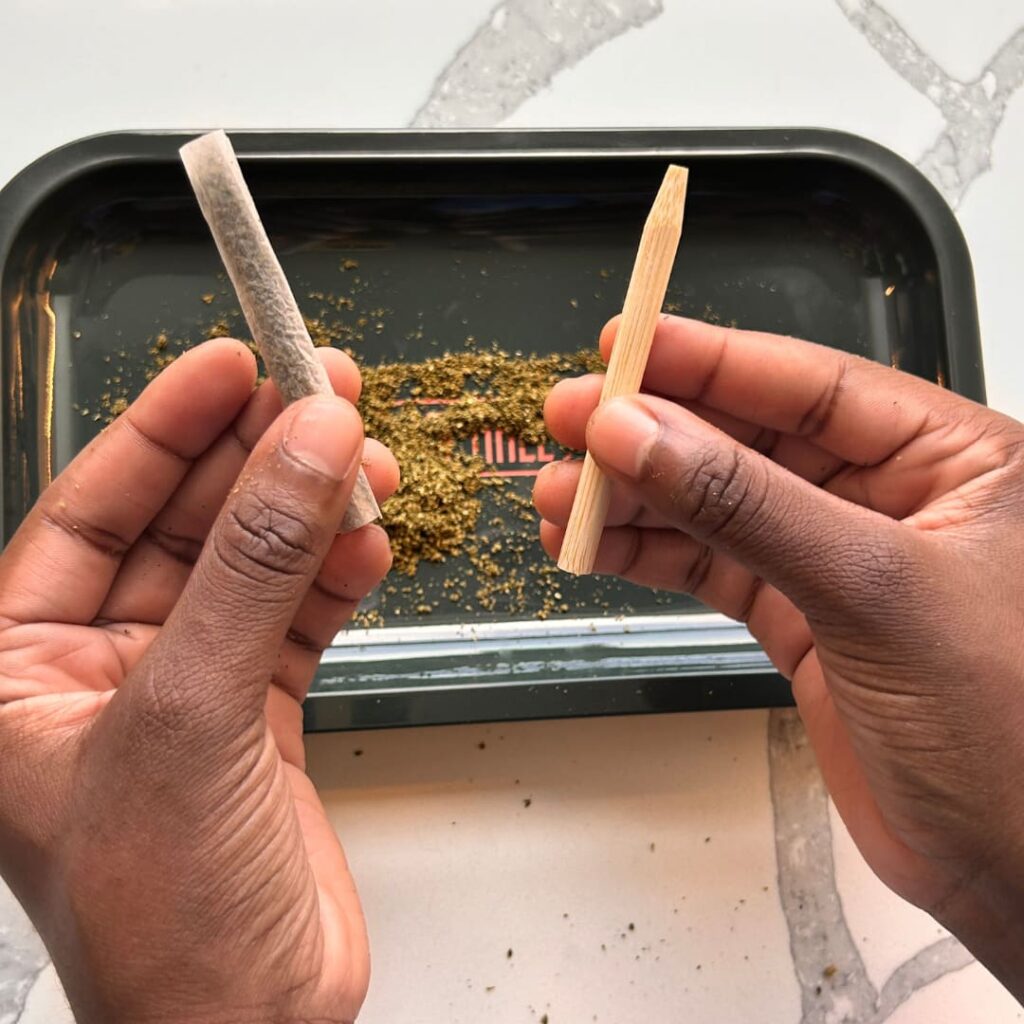
A poker or a pokey is a tool used to pack your bud into your joint. When the joint is sealed, the bud will move to the outer ends of the joint creating an overflow. It is good to have a pokey nearby to pack the weed inside more so you can add more weed inside of the joint and really round out the body of your joint.
Do not get too carried away with the pokey. Packing your joint too much can create airflow issues, of course nothing a good joint massage can’t fix, but now know how to avoid that problem.
Some lighters such as clipper lighters come with a built in pokey so you have a two-in-one tool. Be sure not to lose the pokey tool with clipper lighters. The lighter will not work unless that tool is inserted back into the lighter properly.
A Lighter
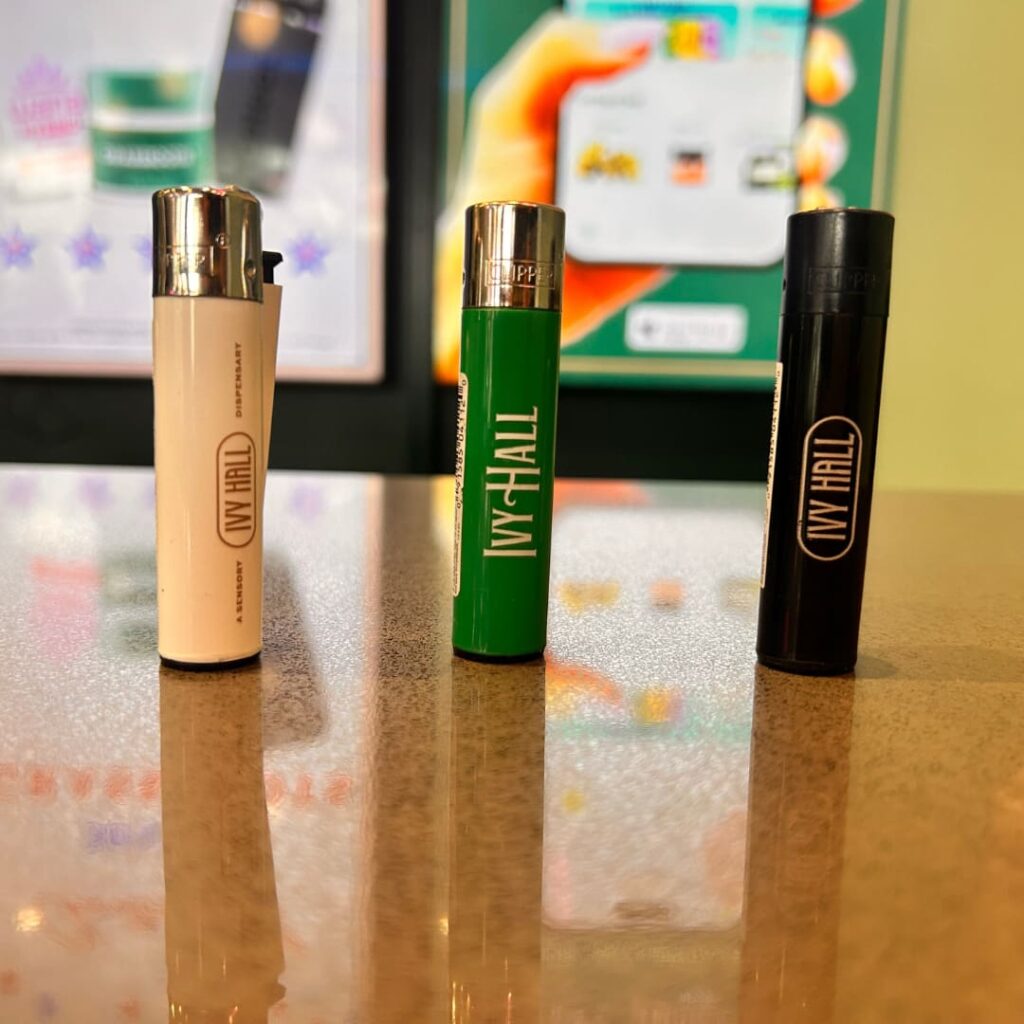
Lastly, it goes without saying you are going to need a lighter to not only light up your joint but dry it too. Once your joint is rolled, it might be slightly wet from using your saliva to lick the gum to seal. Flick your lighter across swiftly to dry and really seal in your buds. Matches are also great to have on hand if your lighter is out of fluid.
Now that we have all of our items that we need, it must be time to start rolling!
How To Roll A Joint Step by Step
Follow these simple steps to create a perfectly rolled joint, ensuring a smooth and enjoyable smoke every time.
Step 1: Preparing the Rolling Paper
The first step to rolling a joint is having your weed ground up and your paper on deck. The first thing I like to do before putting my bud in the paper is crumpling up the paper. You can crumple up your paper leaf into a small ball and then unfold it.
When I do this, the paper is much more malleable to roll with it. It will turn any way you want it and will not be as stiff when you start rolling.
Step 2: Rolling the Filter Tip

If you like to roll with filter tips. Take the time now to roll it into a nice little ‘W’. It can be adjusted depending on how tight you fold it. Not everyone likes to roll with a tip, it can be an extra part of the joint but it is useful for not catching “scooby snacks” or fly away weed pieces that can get stuck on your tongue or lips.
When rolling with a tip, put it at the end of the joint. This will help form the shape of the joint. Place the tip and make sure the amount of ground flower you have will be level with the tip.
If you do not roll with a tip feel free to skip this step.
Step 3: Packing the Ground Flower

Next , you are going to place your ground flower into your joint. This can become a chaotic moment, trust in your ability to tame this bud into your joint. At this moment, I like to insert a little more bud than necessary because I know that a lot of that flower is going to fall out into the rolling tray. This method allows me to be okay with losing some bud, at least the body of my joint is preserved, and of course we can always pack the fallen weed in after we have sealed the joint
Once the desired amount of bud is in the paper this is where I like to start packing the bud close together.
Step 4: Shaping and Leveling the Ground Flower

When it comes to packing the weed in I usually like to take my pinky finger and press it into the paper. This helps determine the shape of the joint. This step helps me determine how I am going to roll the paper the weed to start enclosing the bud inside.
Here I also want to ensure that the bud is properly leveled with the filter. I do not want too much bud where the flower is around the filter, or the filter is skinnier than the bud. I want an even burn all the way through, you can always sift some flower out to help equalize the ratio.
Again if you do not roll with filters, feel free to keep reading.
Step 5: Rolling and Tucking the Joint
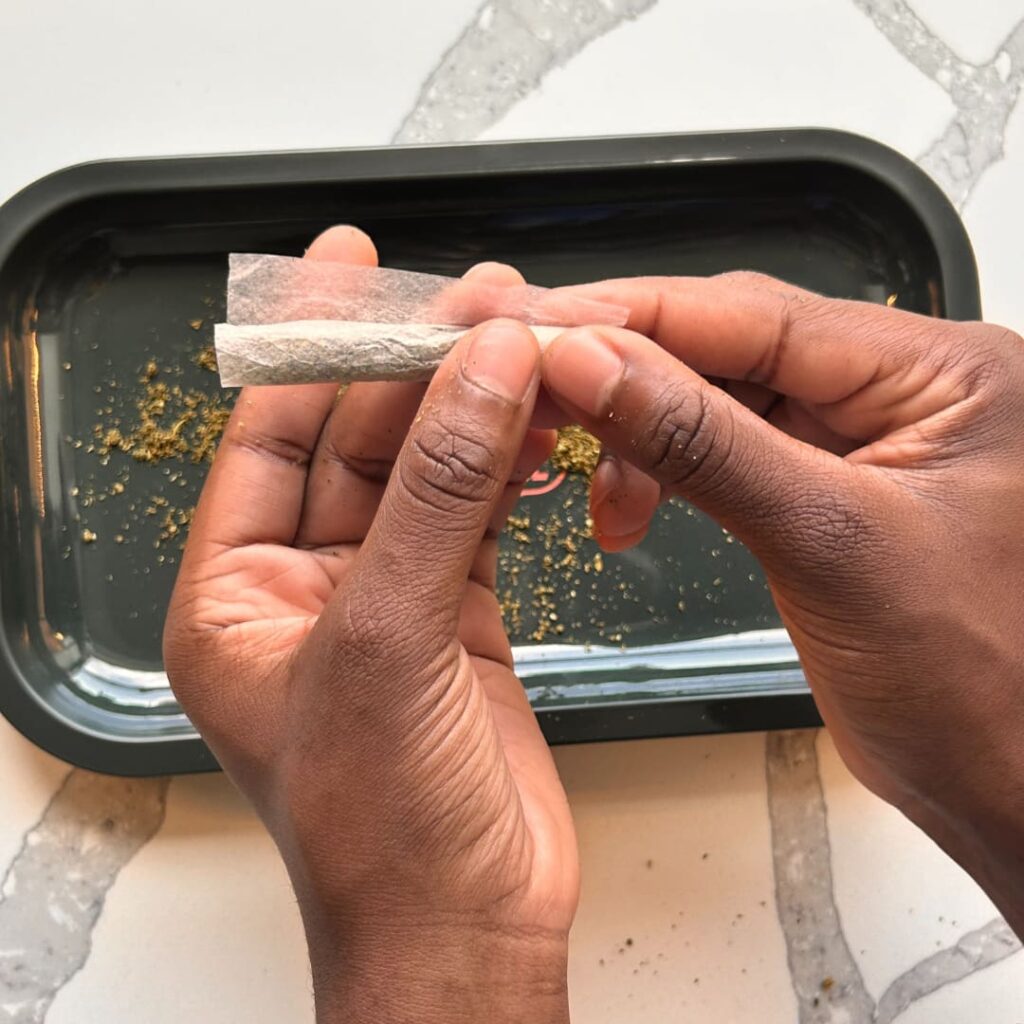
Step 5 is where things can get a little tricky, but no worries, I am confident we can power through!
Now that your bud is leveled, it is time to start actually rolling our joint. Start this process by touching the two ends of the paper together, try to make them kiss! Now, roll the joint down along the knuckle of your thumb, just enough so the front end of the paper is leveled with the flower. Slowly, roll up and tuck the front end of the paper, behind the bud. The tuck is what is key here. Try to envision your joint as a miniature burrito, and fold the paper around the bud. If you are using a filter tip here, use the tip as your guide to shape your bud to properly incorporate the tip into the joint.
Step 6: Sealing and Finishing the Joint
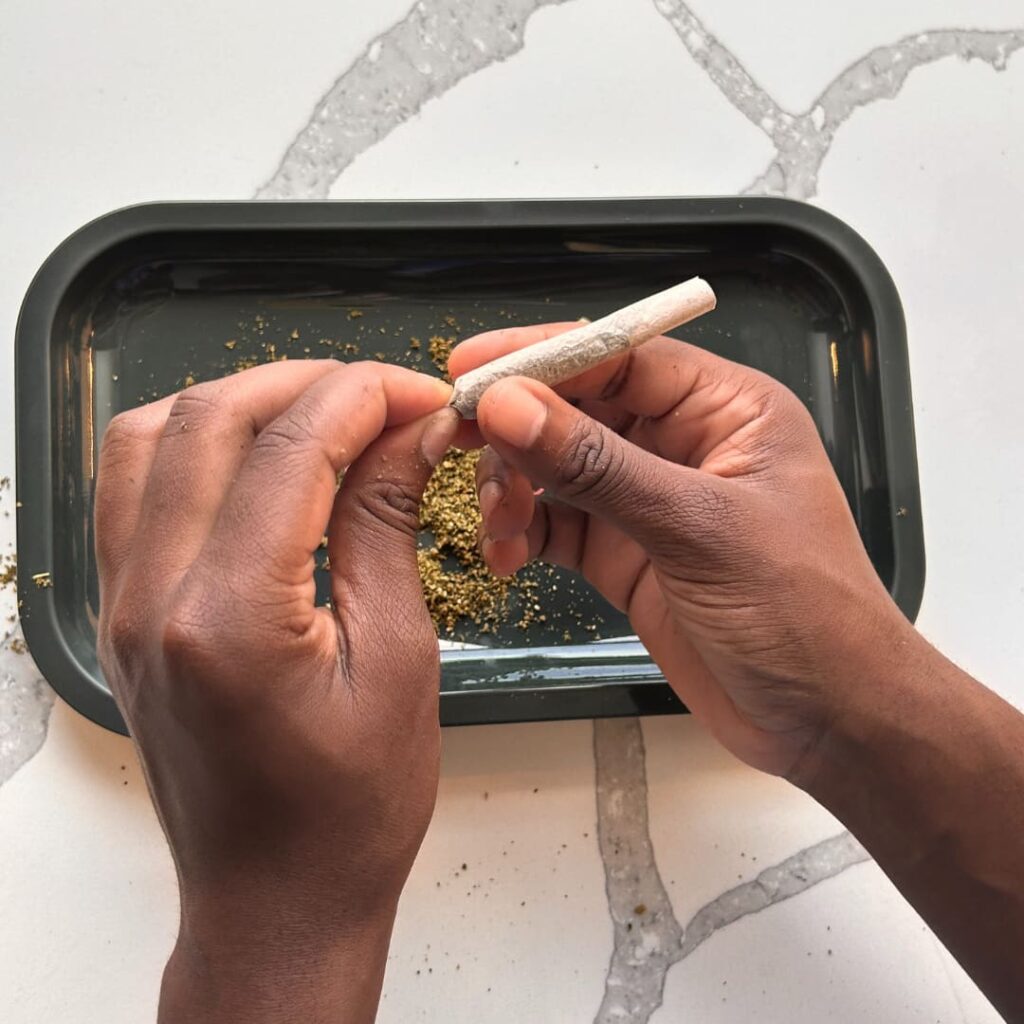
This move can be done slowly, as you slowly rotate the joint, tuck, roll, tuck roll. Roll the joint just below the gum line of the paper. It is easy to spot because it will be shinier compared to the majority dull paper. With the tip of your tongue glide across the gum strip, then seal the joint with that strip. Boom! Your joint is rolled.
This move needs to be done in one full swoop. You do not want the gum to start drying, so when you seal it, it doesn’t close. Remember to lick and roll. You can be slightly generous with the saliva. Again keep a lighter nearby and some reinforcement to your seal and dry the body of the joint.
Step 7: Enjoying Your Rolled Joint
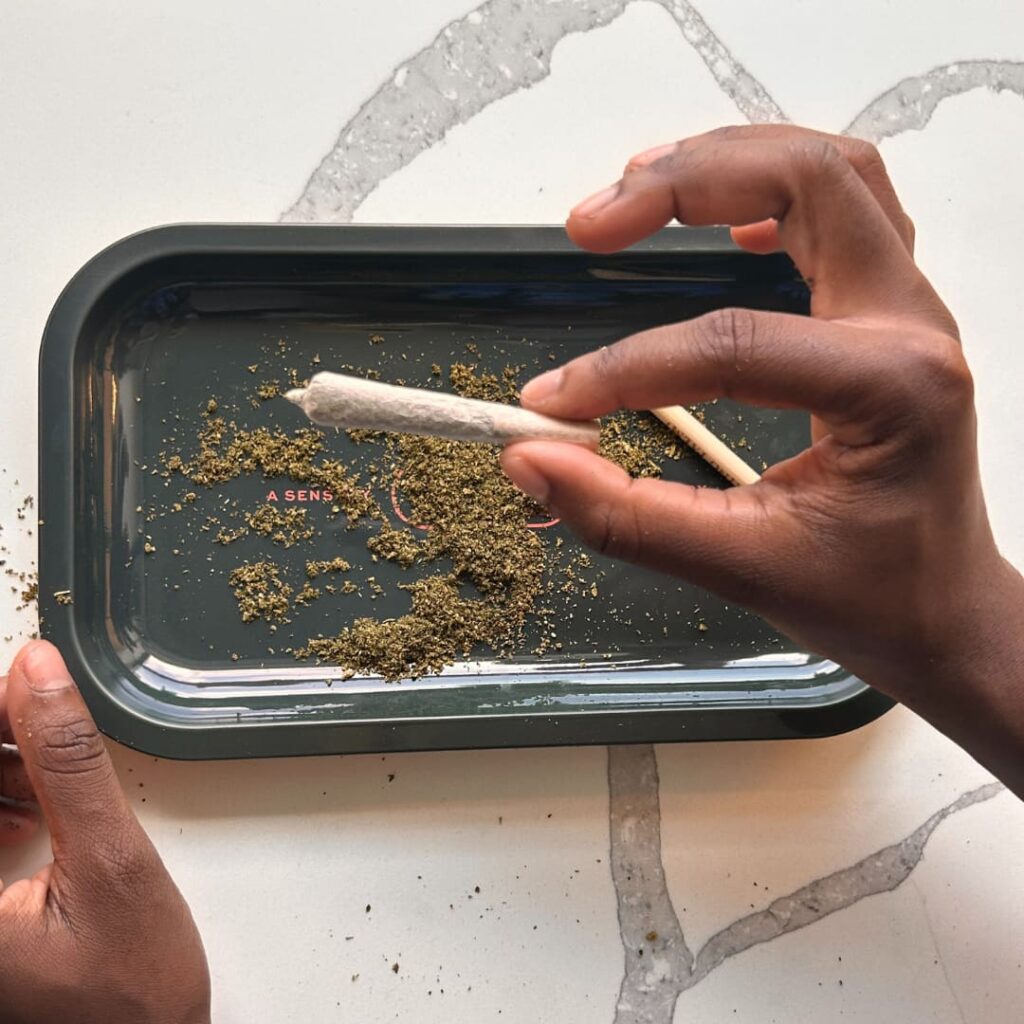
The final step is to smoke your joint! Get your joint going with a lighter or a match. Some people like to twirl the joint around in the flame to get it smoking, others will light it like a cigarette, inhale that flame to get your cherry started.
Depending on how you rolled, there is always room for canoeing, or when the paper burns faster than the weed. Use the lighter to even out the cherry to keep your joint burning right.
Joint Rolling FAQs
Rolling a joint can come with a few challenges, especially if you’re new to the process. To help you along the way, we’ve compiled answers to some of the most common questions about joint rolling. Whether you’re dealing with tricky papers or looking to elevate your roll, these FAQs have you covered.
How tightly should I roll my joint?
Rolling your joint too tightly can restrict airflow, making it difficult to pull smoke through. On the other hand, if the joint is too loose, it will burn unevenly or go out. Aim for a firm roll with just enough tightness that the joint stays together without being too compressed.
What’s the best type of rolling paper to use?
The type of rolling paper you choose can affect the flavor and burn of your joint. Standard rolling papers come in various materials like rice, hemp, and wood pulp. Hemp papers are often favored for their natural taste, while rice papers offer a smooth, slow burn. Experiment with different types to find what works best for you.
What if my joint doesn’t seal?
If your joint does not seal you can always wrap it with another paper leaf. You can mold this leaf around the first joint and seal it properly. Pay attention to how it burns, you want to wrap the papers closely so they can burn at the same rate.
Why does my joint keep canoeing?
If your joint keeps canoeing it’s probably because there is some paper bunched up while you are rolling. To solve this problem, work with your joint and burn it in the lighter flame. The fire should help even out the end.
Some people roll what are called “donuts”. Donuts are fat joints with a strip of concentrate in the middle. They burn slowly to make sure you can savor every hit.
Should I use a filter or crutch when rolling?
Using a filter (also called a crutch or tip) helps prevent loose bits of cannabis from getting into your mouth while smoking. It also provides structure, making the joint easier to hold and smoke. Some people prefer rolling without a filter, but using one generally improves the smoking experience.
How can I make my joint burn slower?
To slow down the burn of your joint, ensure you grind your cannabis evenly. A consistent grind allows for a smoother burn. Additionally, rolling a tighter joint or using thicker rolling papers can help extend the burn time. Some people also add a small amount of concentrate inside or outside the joint to slow the burn further.
What can I do to enhance my joints?
Something you can do is infuse your joints with concentrate such as was, FSHO (Full Spectrum Hash Oil), or kief. You can roll the kief into the joint, or dust around by putting concentrate around the outside of the joint then dusting it in the kief.
What’s the best way to store rolled joints?
Pre-rolled joints should be stored in an airtight container to maintain freshness. Exposure to air can dry out the cannabis, leading to a harsher smoke. Many people use joint tubes or small tins to protect their joints and keep them fresh until they’re ready to smoke.
Rolling The Perfect Joint Takes Practice
Rolling a joint can be a rewarding and enjoyable experience. It’s an art form that allows you to create something uniquely yours, from the way it’s rolled to how it smokes. Like any skill, it takes practice to get it just right—so don’t worry if your first few attempts aren’t perfect. Take your time, enjoy the process, and soon you’ll be rolling smooth, even joints with ease.
Remember, every joint you roll is a reflection of your personal style, so have fun with it and keep practicing!