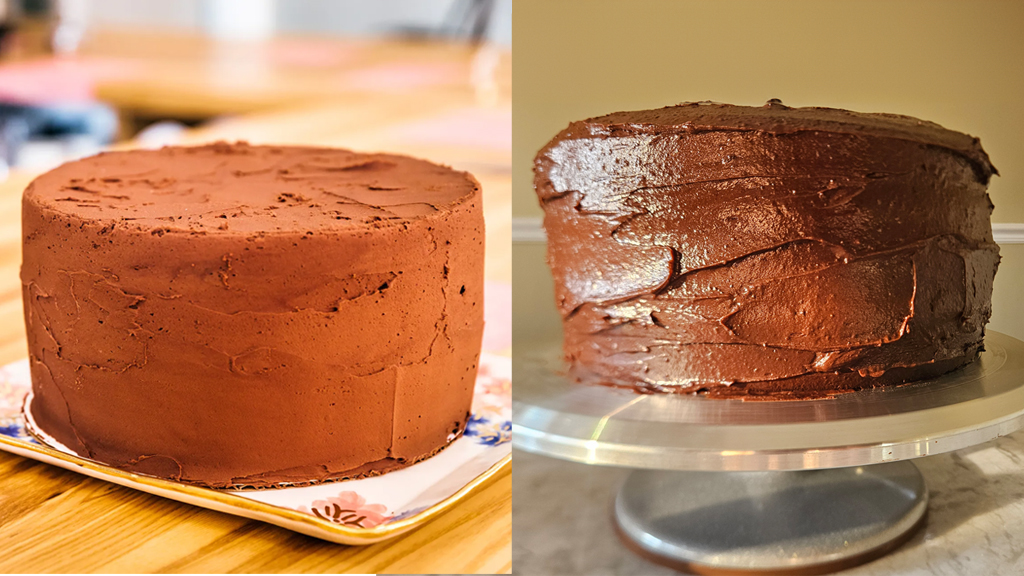
‘THE BEAR’ INFUSED CHOCOLATE CAKE
FX’s ‘The Bear’ Season 3 is being released on Hulu and FX on June 27th. ‘The Bear’ is set in Chicago and stars Jeremy Allen White as Carmy Berzatto, a famous Michelin-rated chef, who comes home to inherit his late brother’s sandwich shop, Mr. Beef, in downtown Chicago.
In Season One of ‘The Bear,’ rookie pastry chef, Marcus, bakes a three-tiered chocolate cake for what seems like the entirety of the episode. In the episode titled ‘Dogs’, they all come together after a long day’s work to eat his cake. Carmy points at him as if to tell him how good it is.
‘The Bear’ is basically a love letter to Chicago’s food scene, and the ultimate show of respect for the hospitality industry. Who doesn’t love a show based on a city that you love (and live in) along with insanely delicious food you can find in it? Speaking of which, the creator of the now famous chocolate cake is based right here in Chicago at a cafe you can find in the heart of the Avondale neighborhood. And with Ivy Hall Logan Square so close, we just knew we had to find a way to connect.
Since stoners love munchies, especially munchies with cannabis in it, we thought infusing ‘The Bear’ chocolate cake was the right move, specifically, infusing the mousse.
Watch the behind the scenes video and get some cake infusing tips on our YouTube channel here: ‘The Bear’ Infused Chocolate Cake | Baking and Getting Baked
SAY ‘YES CHEF’ TO THE CAKE
‘Is the cake really worth the hype?’
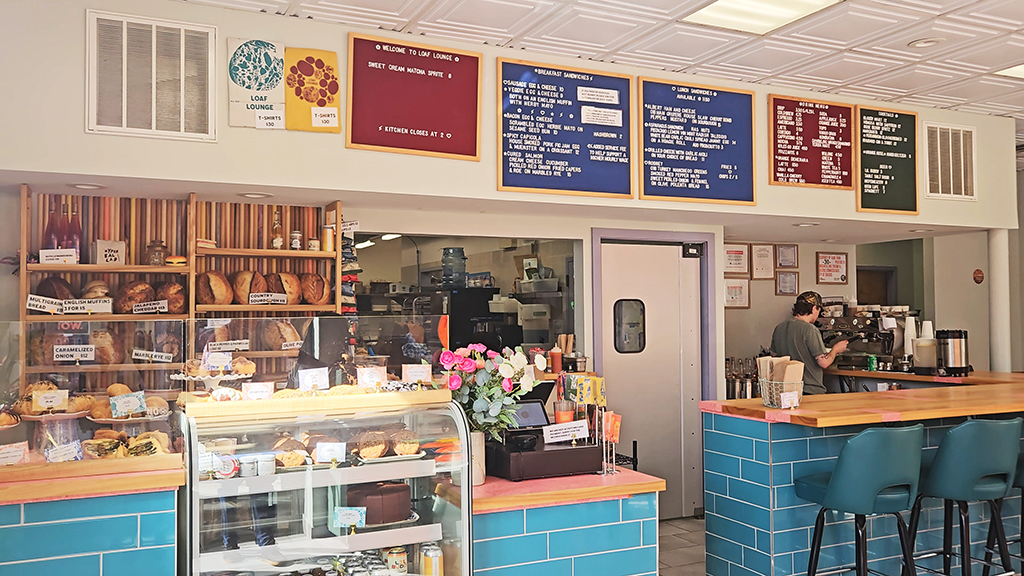
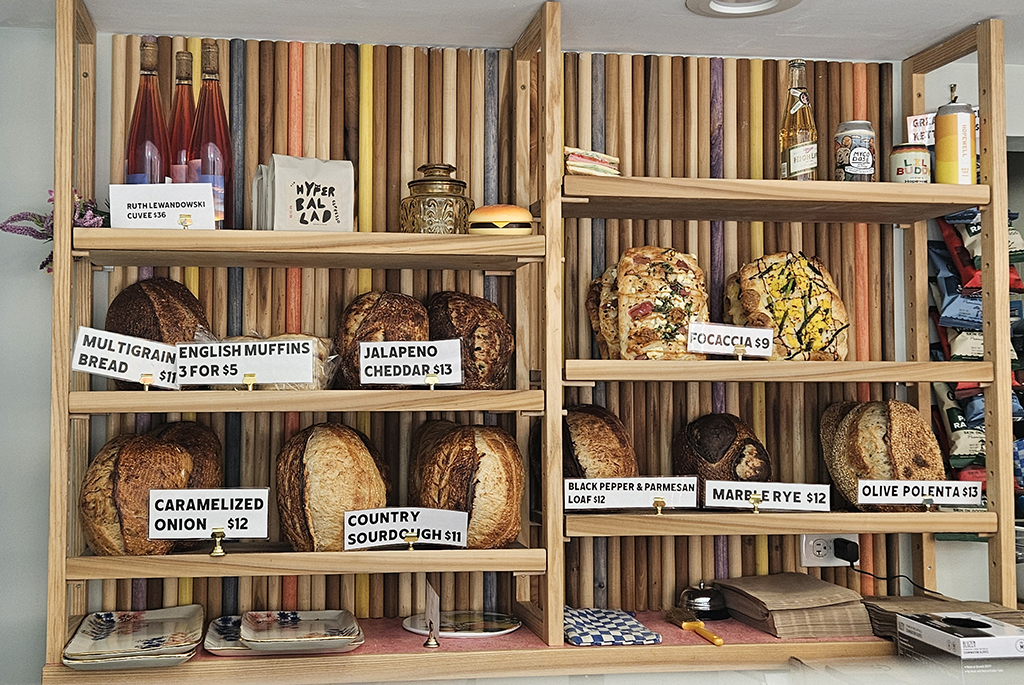
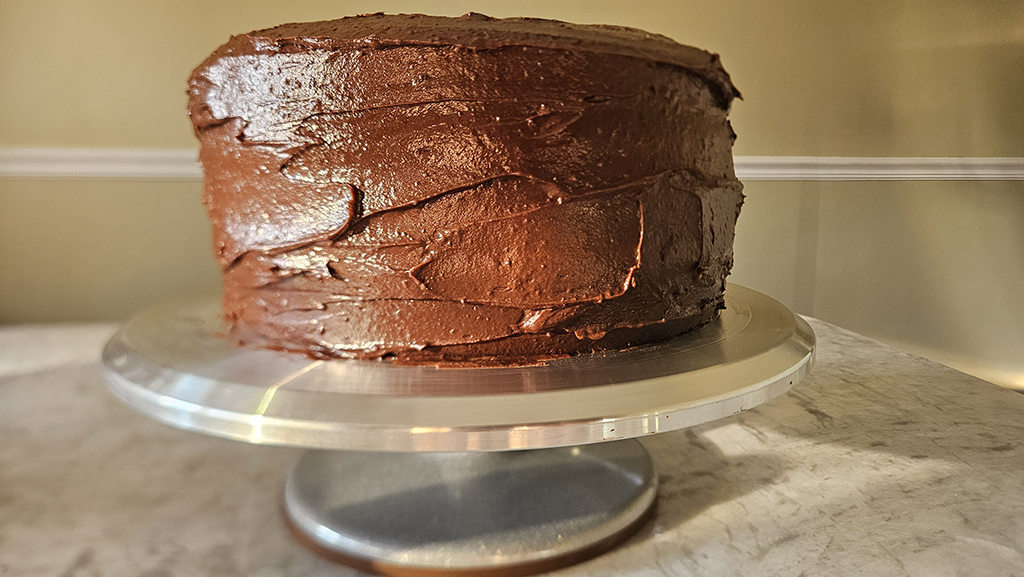
THAT was my question as I walked into Loaf Lounge on a bright and sunny Thursday at 8:45 in the morning and stared down The Cake that made its bakery and pastry chef go viral. It’s also the most commonly asked question all over the internet right now when you type “The Bear Chocolate Cake” into the search bar. I was meeting with my boss and we were both on the same page about trying a slice, as well as their other famous item on the menu, breakfast sandwiches on an English muffin you would die for.
Anyways, back to the main love affair. The Cake.
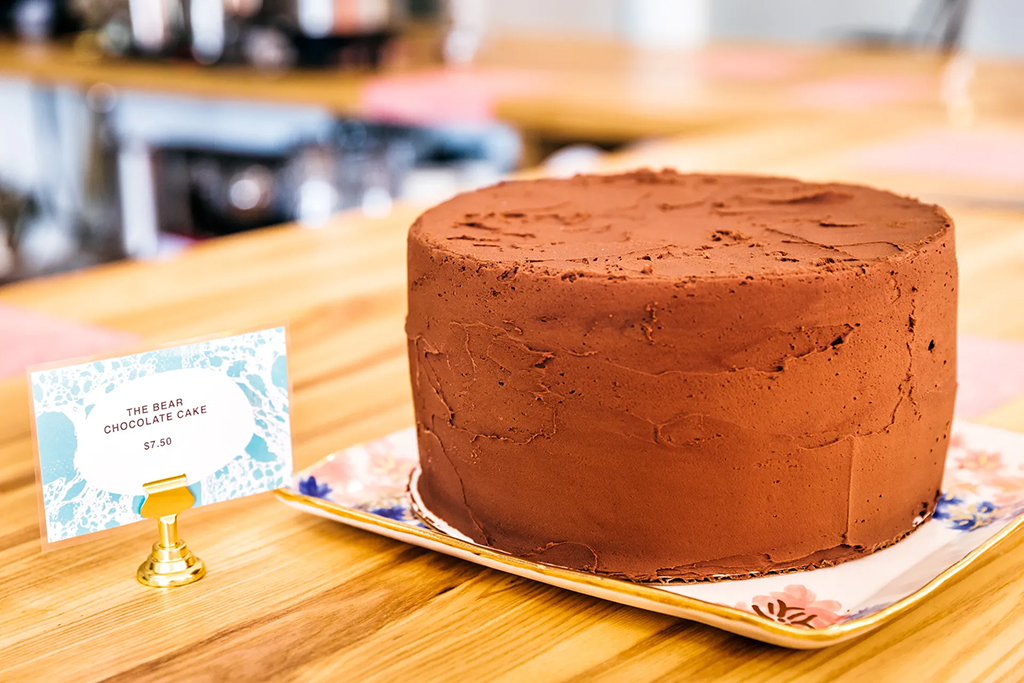
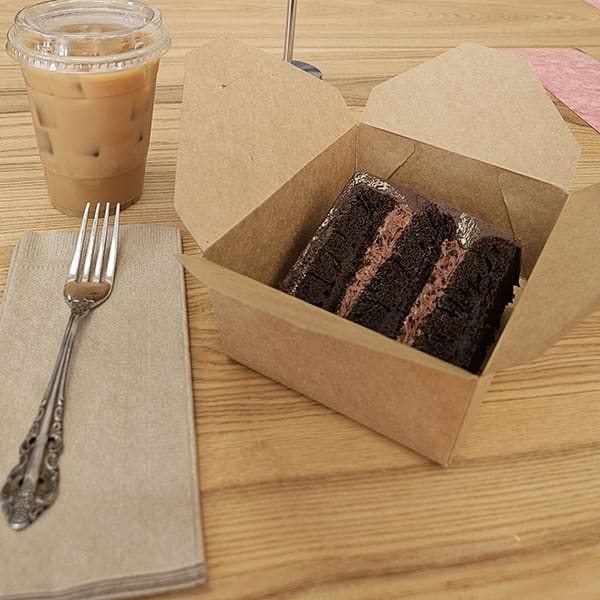
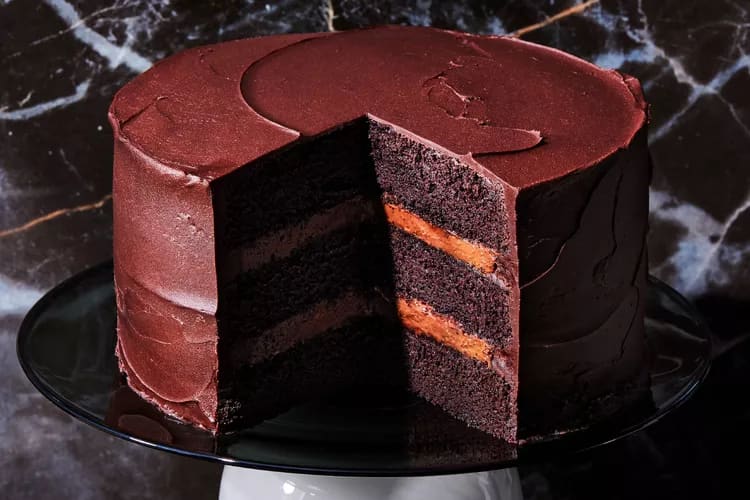
The Cake and I first saw each other the moment I stepped foot inside. It [The Cake] sits perfectly inside the glasscase behind the counter with a little 2×3 label that reads ‘The Bear’ Chocolate Cake $7.50 / slice.
I was just minding my own business, admiring the snake plants that line the inside window, along with the old school counter and practical vintage looking stools, and the retro tile boards for menus, and then it hit me! The cake was like ‘we’re doing this thing’. I ordered it with a side of coffee that hit just as good as any good inhale.
So, is it really worth the hype, though, all biases aside?
In short, yes chef!
If you think it’s just another chocolate cake that you can find anywhere else, think again. The secret, in my opinion, is in the mousse. The recipe calls for room temperature brewed coffee and consists of Valrhona Taïnori cacao dark chocolate that is only available to order and can be found all over Europe, of course it’s the best cake you’ll ever have! Now, if you’re more of a savory person, you can probably stop reading this.
Just kidding.
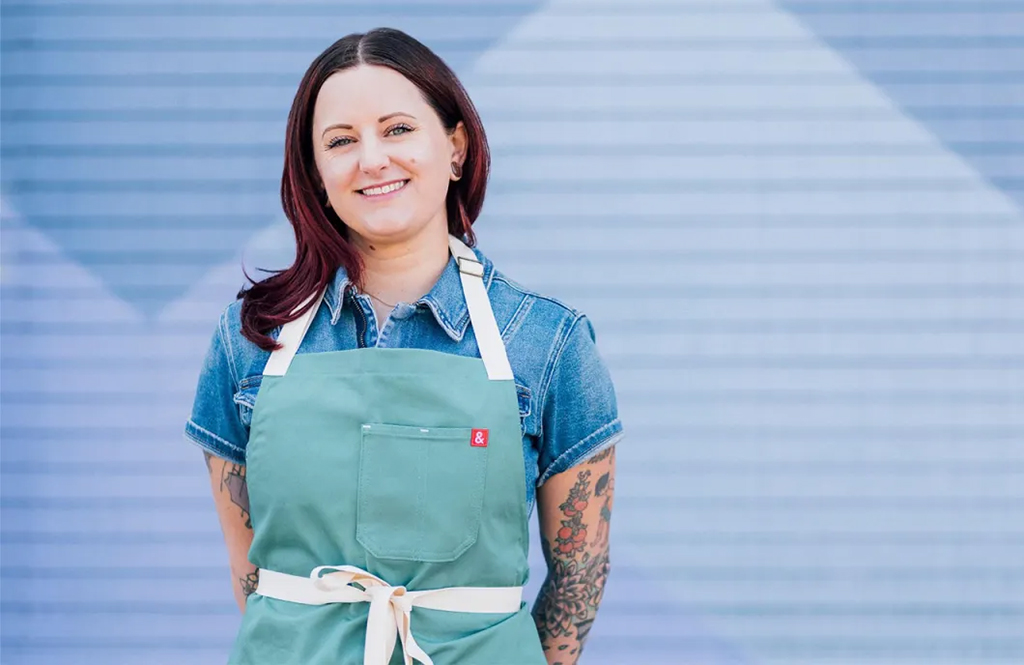
The originator of the cake, Sarah Mispagel-Lustbader, is a pastry chef, and currently co-owns with her husband, Loaf Lounge in Avondale which is a bread-centric cafe. She started her career at Sepia and Proxi, and then Nightwood in Chicago. Loaf Lounge was an outstanding product of the pandemic, only coming out as limited time only pop-ups in others’ kitchens, such as Superkhana. It opened just a year and a half later on Milwaukee ave. in August 2022. How the cake came to be on ‘The Bear?’ Sarah was the consulting pastry chef on the show and the rest is history.
You can find the original Food and Wine article and directions on how to bake the cake here.
‘THE BEAR’ CAKE RECIPE: INFUSED
‘THE BEAR’ CAKE RECIPE: INFUSED
Ingredients
CHOCOLATE MOUSSE
- 8 ounces 64% cacao dark chocolate (such as Valrhona Taïnori 64%), finely chopped
(about 1 & 1/3 cups plus 4 teaspoons) - 5 tablespoons unsalted butter
- 10 large egg yolks, at room temperature
- 1/4 cup granulated sugar, divided
- 4 large egg whites, at room temperature
- 1/2 cup heavy cream
- 1g FSHO (Full Spectrum Hash Oil) Dablicator Pen by Aeriz
CAKE LAYERS
- Baking spray with flour
- 2 & 1/2 cups all-purpose flour (about 10 5/8 ounces)
- 1 & 1/4 cups unsweetened Dutch-process cocoa powder (such as Valrhona) (about 4 3/8 ounces)
- 2 teaspoons baking soda
- 1 & 1/2 teaspoons baking powder
- 2 & 1/2 teaspoons kosher salt
- 5 large eggs, at room temperature
- 3 cups granulated sugar
- 1 & 1/4 cups brewed coffee, at room temperature
- 3/4 cup unsalted butter (6 ounces), melted
- 1 & 1/2 cups crème fraîche (about 12 ounces), at room temperature
ICING
- 6 cups powdered sugar (about 24 ounces)
- 1 & 1/2 cups unsweetened Dutch-process cocoa powder (such as Valrhona) (about 4 7/8 ounces)
- 2 & 1/4 cups unsalted butter (18 ounces), softened
- 1/2 cup heavy cream
- 2 teaspoons vanilla extract
Instructions
Make the Chocolate Mousse
Step 1
- Bring 1 inch of water to a simmer in a small saucepan over medium-low.
- Place a medium-size heatproof bowl over the pan; add chopped chocolate and butter. (Make sure the bottom of the bowl does not touch water.)
- Cook, stirring occasionally and adjusting heat as needed to maintain a simmer, until mixture is smooth, 3 to 5 minutes.
- Remove chocolate mixture from heat; let cool, uncovered, at room temperature until just warm to the touch, about 10 minutes.
- Reduce heat to low and keep water in the saucepan at a bare simmer.
Step 2
- Meanwhile, whisk together egg yolks and 2 tablespoons granulated sugar in the bowl of a stand mixer.
- Place bowl over saucepan of simmering water, whisking constantly, until mixture registers 160°F on an instant-read thermometer.
- Remove bowl from heat; transfer to a stand mixer fitted with the whisk attachment. Beat on medium-high speed until the mixture is very pale yellow in color, thick, and fluffy, about 3 minutes.
- Fold egg yolk mixture into cooled chocolate mixture.
Step 3
- In a clean bowl of stand mixer fitted with the whisk attachment, beat egg whites on medium-high speed until foamy, about 15 seconds.
- Gradually add remaining 2 tablespoons granulated sugar in a slow, steady stream, beating on medium-high speed until stiff peaks form, 1 to 2 minutes.
- Using an electric mixer or whisk, beat cream in a separate medium bowl until medium peaks form.
- Fold egg white mixture into chocolate mixture in three additions.
- Fold in whipped cream just until mixture is combined and no dark or white streaks remain.
- Add in the FSHO. Each line on the dablicator equals 55mg per dose. This recipe cuts 10 slices making the total dosage about 100mg for the whole cake, or 10mg per slice. Twist the bottom of the applicator until you get to two clicks. Press the plunger. Mix until combined.
- Cover and chill for at least 8 hours or up to 24 hours.
- Bring to room temp before applying mousse.
Make the Cake Layers
Step 1
- Preheat the oven to 350°F.
- Coat three 9-inch round cake pans with baking spray; line bottoms with parchment paper. Lightly spray parchment with baking spray.
Step 2
- Sift together flour, cocoa, baking soda, and baking powder in a large bowl; whisk in salt until combined. Set aside.
- Beat eggs with a stand mixer fitted with the whisk attachment on medium-high speed until light and foamy, about 2 minutes.
- Gradually add granulated sugar; beat on medium-high speed until very pale and voluminous, about 5 minutes, scraping down sides of bowl as needed. (Mixture should fall off whisk attachment in ribbons and remain suspended briefly on the surface before sinking back into the batter.)
- With the mixer running on low speed, add flour mixture in three additions alternately with coffee and melted butter, beginning and ending with flour mixture; beat until nearly combined, stopping to scrape down sides of bowl as needed.
- Add crème fraîche; beat on low speed just until combined, about 30 seconds, folding by hand toward end if needed. (Batter may look slightly broken but will bake just fine.)
Step 3
- Divide batter evenly among prepared baking pans (about 3 cups per pan); tap baking pans a few times on the work surface to evenly spread batter and eliminate any air bubbles.
- Bake in a preheated oven until a wooden pick inserted in the center of the cakes comes out clean, 25 to 30 minutes.
- Let cake layers cool in baking pans on wire racks for 10 minutes; remove cakes from baking pans and let cool completely, parchment side down, on racks, 1 hour and 30 minutes to 2 hours.
Make the Icing
Step 1
- Sift together powdered sugar and cocoa in a medium bowl. Set aside.
Beat butter with a stand mixer fitted with the paddle attachment on medium speed until creamy, about 2 minutes. - Gradually add powdered sugar mixture, beating on low speed just until combined, about 2 minutes, scraping down sides of bowl as needed.Increase mixer speed to medium and beat until fluffy, 2 to 3 minutes.
- Gradually add cream and vanilla, beating on medium-low speed until combined and stopping to scrape down sides of bowl as needed.
- Spoon 1 cup icing into a piping bag or ziplock plastic bag; cut a 1/2- to 3/4-inch hole in the corner. Leave the remaining icing in the bowl.
Assemble the Cake
Step 1
- Trim cakes flat using a cake leveler or serrated knife, if necessary; discard parchment. Place one cake layer on a cardboard cake round or plate.
- Pipe a 1/2-inch-tall border of icing around the edge of the first cake layer.
- Spoon half of chocolate mousse (about 2 cups) onto the center of the cake, and spread evenly within the border using a small offset spatula.
- Top with a second cake layer, cut side down, and repeat the process with remaining chocolate mousse.
- Top with a third cake layer, cut side down.
- Spread remaining icing over top and sides of cake.
- Chill until set, about 15 minutes.
OPTIONAL: Tips for Making Ahead
Cooled cake layers can be made up to 1 day in advance. Wrap layers in plastic wrap and refrigerate. Frosting can be stored in an airtight container in the refrigerator 1 day ahead; bring to room temperature before assembling the cake.
BAKING WITH CANNABIS 101
Back in the day, marijuana edibles typically came in the form of baked goods such as brownies or cookies, also known as, “special brownies” or “special cookies.” Now, edibles are more minimal and come in discreet form such as a gummy, candy, tablet, and beverages. Occasionally, you’ll still find cookies and brownies, and now, infused chocolate CAKE!
Through the process of decarboxylation (de-carb-ox-yl-a-tion), you’re able to cook and bake with Cannabis. Decarboxylation is a process that activates the psychoactive compounds in the cannabis plant so that you feel high when you consume it. Since the cannabis plant has THCA, it needs to be converted into THC if you want to feel high. While consuming edibles doesn’t necessarily involve heat, as with smoking a joint or hitting a vape pen, the decarboxylation process still needs to occur to activate the weed in the edible before consumption (if baking or cooking).
When making edibles, buds are typically heated in an oven first to decarboxylate them, and then infused into a medium such as butter or coconut oil. That infusion is then used to make edibles, such as brownies, cookies, gummies, and more. Heating buds in an oven at 220ºF for 30-40 minutes before infusion is necessary to activate the THC in the buds so it can be carried into the infusion, and then into the edible.
FSHO: INFUSING THE CHOCOLATE CAKE
We get it… life moves pretty fast. Some of us just aren’t bakers and don’t have the time to go through the entire decarboxylation process. With the Full Spectrum Hash Oil Dablicator by Aeriz, your infusion experience is even more convenient and easier than ever!
The FSHO comes as a 1g dablicator applicator that allows you to eat, smoke, dab, The Dablicator is an innovative way to dose cannabis-concentrated oils. This easy-to-use device was designed to replace the unknown-dose syringes of old for a precise dose, down to the last drop of THC.
HOW TO USE THE DABLICATOR PEN
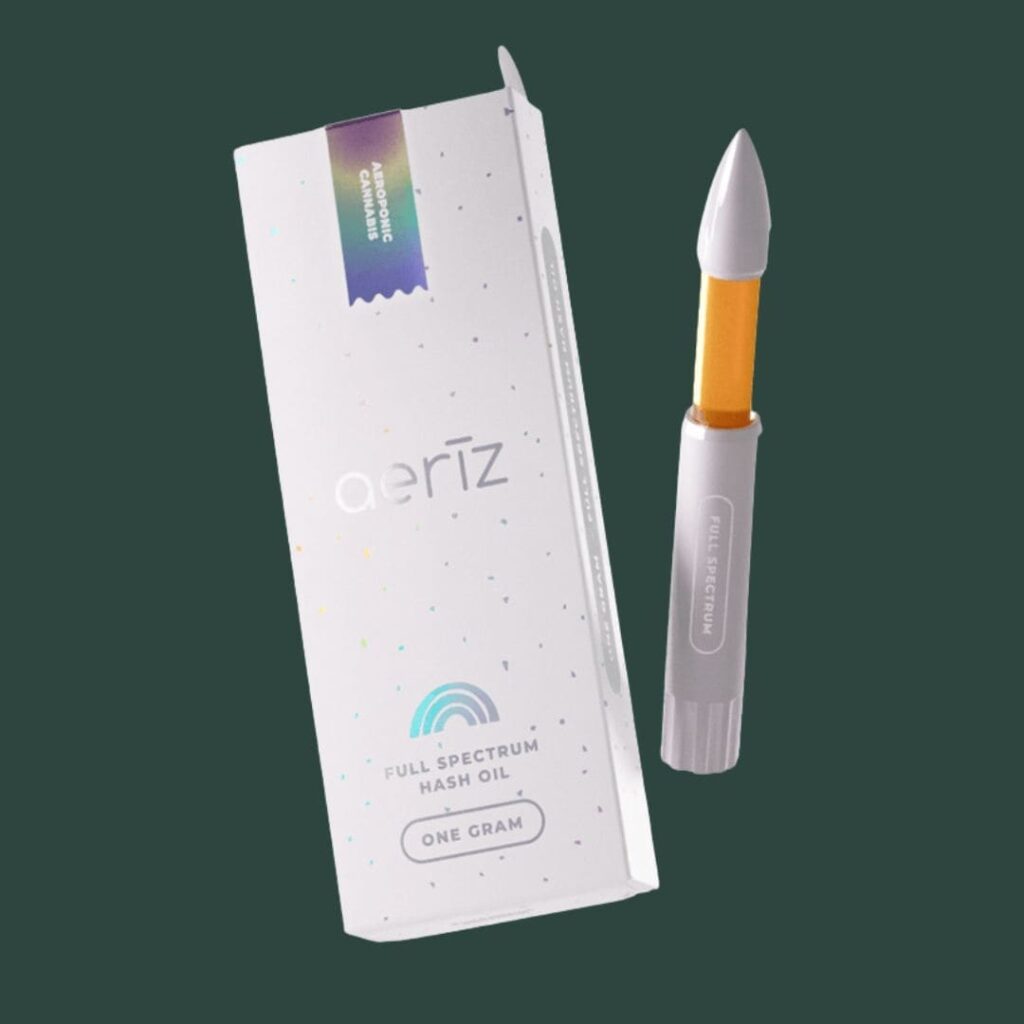
Like Syringes, the Dablicator has measured lines, which dispense 55mg of oil per click. Instead of trying to grip a small plunger, the Dablicator has a twist function. To dose your cannabis oil: remove the cap; twist the bottom of the applicator until you hear a click, which indicates a 55mg dose; then press the plunger. In comparison, the cake we made has about 100mg THC and serves 10 10mg slices. As always, remember to dose responsibly!
(Note: 55mg of oil is different from THC! To calculate the dose of THC per measured line, take the percentage of your oil and multiply it by 55. For example, an 85% THC oil would dose 46.75mg per click (55mg x 85% = 46.75mg).
SHOP FSHO HERE – IVY HALL LOGAN SQUARE
“LET THEM EAT CAKE”- MARIE ANTOINETTE
I didn’t think I was good at baking before this and I still don’t think I’m great at it, but It’s really all about following the directions – and having all the right baking tools! I proudly and joyfully baked this cake over the course of 2 days, all of which I did by hand vs. using a kitchen stand mixer. My point is, anyone can bake! YOU can bake this cake. And you can use the FSHO pen a lot or a little, whichever dose works for you! That’s the beauty of the dablicator applicator! Remember, a little goes a long way.
Do us a favor, swing by Ivy Hall Logan Square to pick-up your dablicator pen, then stop by Loaf Lounge in Avondale, grab a slice of cake for yourself to try and put a dab on a bite of cake. Or you could just bake the whole thing like we did 😉